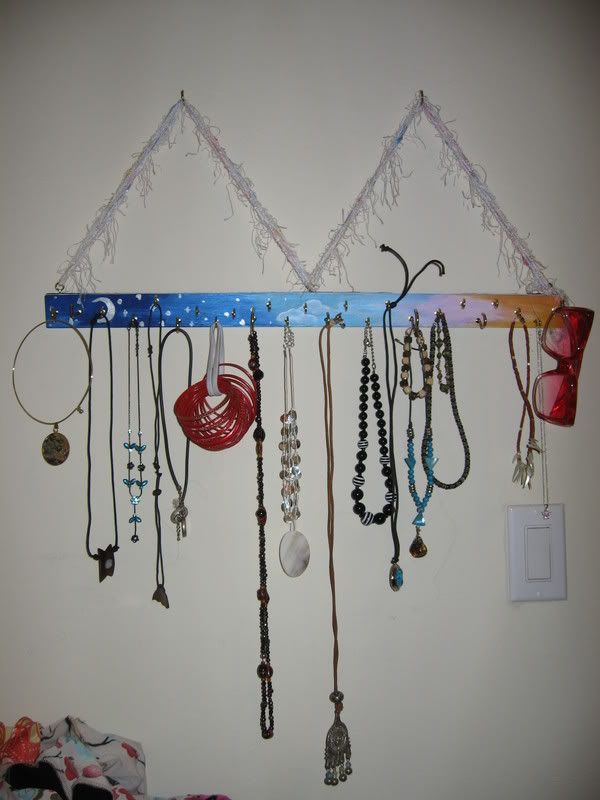
So, in the ongoing effort to streamline my environment to my needs (ie, clean up my clutter) I decided that hanging my jewelry up where I could see it would make me much more likely to remember it's existence with the added bonus of the pretty graphic *Oomph* it gives my wall.
The materials I used:
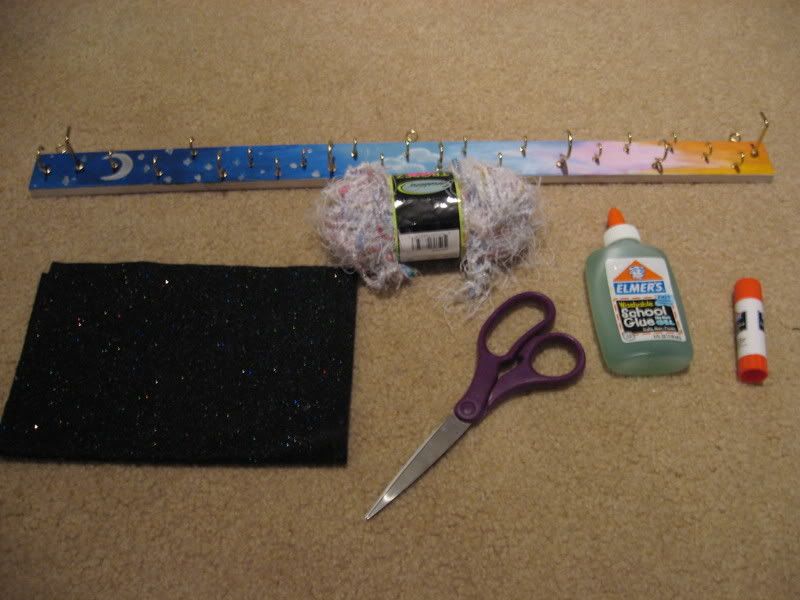
- a craft stick i got for $0.70 at Lowes. It's about 3/4" thick, 2 " tall and maybe 2 feet long
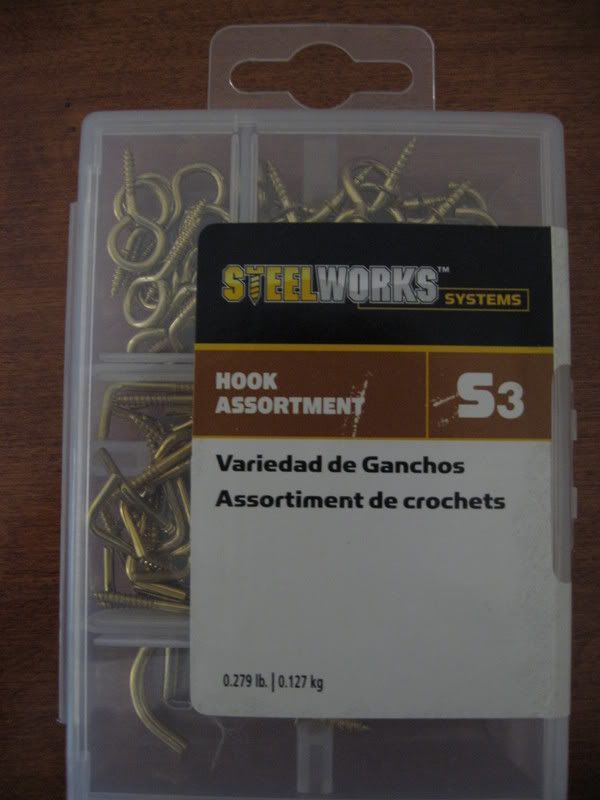
- a package of small hooks I also got at Lowes, about $2
- sandpaper
- Acrylic paint
- decorative yarn
My Steps:The first thing I had to do was sand the wood since it was splinter-ific, but alas... no sandpaper to be had!!! I really didn't feel like going to the store in the middle of the night to get some so I improvised and used one of those big foam nail files!! Everyone laughed that saw me doing it, but it worked awesome! It only took like one minute to sand the whole thing! Be careful while filing your nails girls- those things don't mess around!
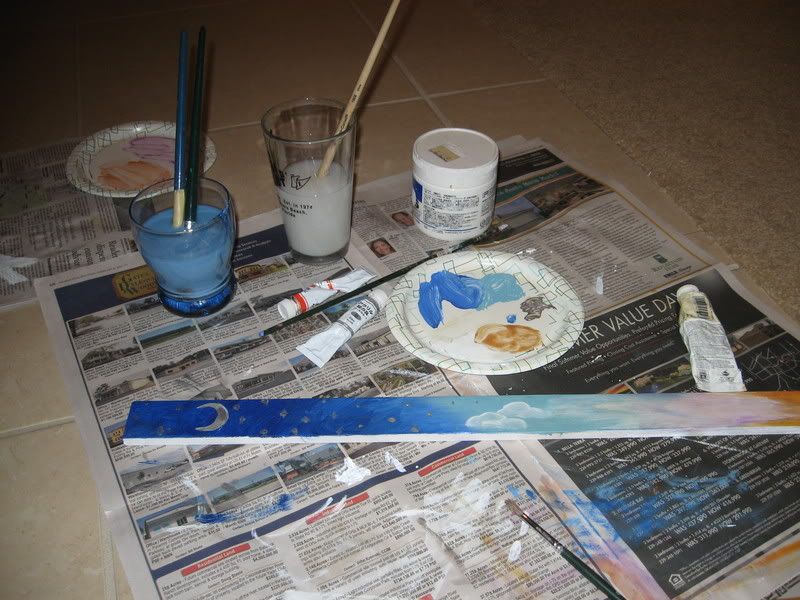
Next I primed the wood and decided on my background and got to painting. The funnest thing out of it all. My work area:
When it was dry I got down and dirty with the hooks. Basically just pushing them into the wood and screwing them in by hand. Ugh, were my fingers were sore the next day! (but it was worth it!) Still, if you have a man-slave handy I would suggest putting on your sweetest voice and cajoling him into doing it. It'll play right into his sub-conscious machoness and spare you your fingers.
I finished off with three loop hooks up top and then cut out and glued a felt backing to the wood so the tips of the hooks that had poked through to the other side wouldn't scratch the wall or...well, me.
I looped the yarn through the hooks a bunch of times to make sure it could support the weight, then hung it from the wall and put my pretty jewelry on it!!
 lower Right: jumper i made... in my haste i forgot to preshrink the fabric.... (>_<) wore it once...
 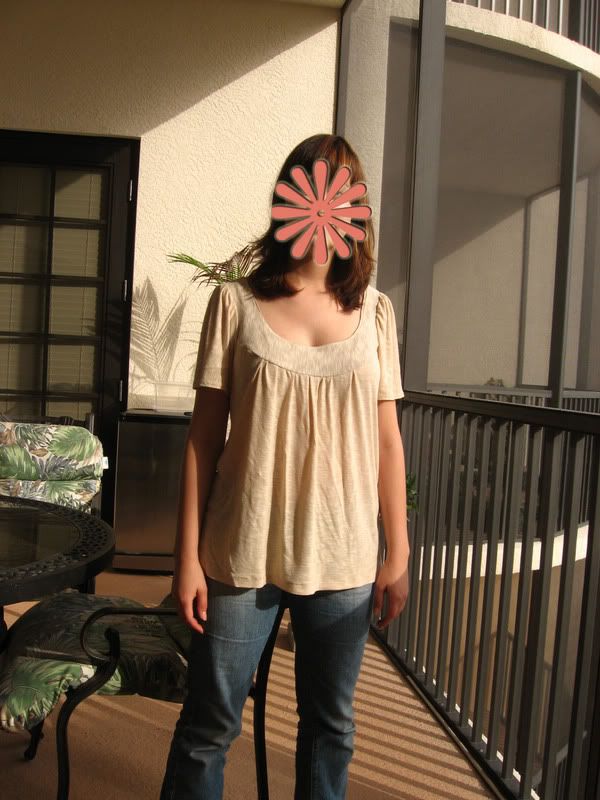 cool beige jersey shirt... soft as silk
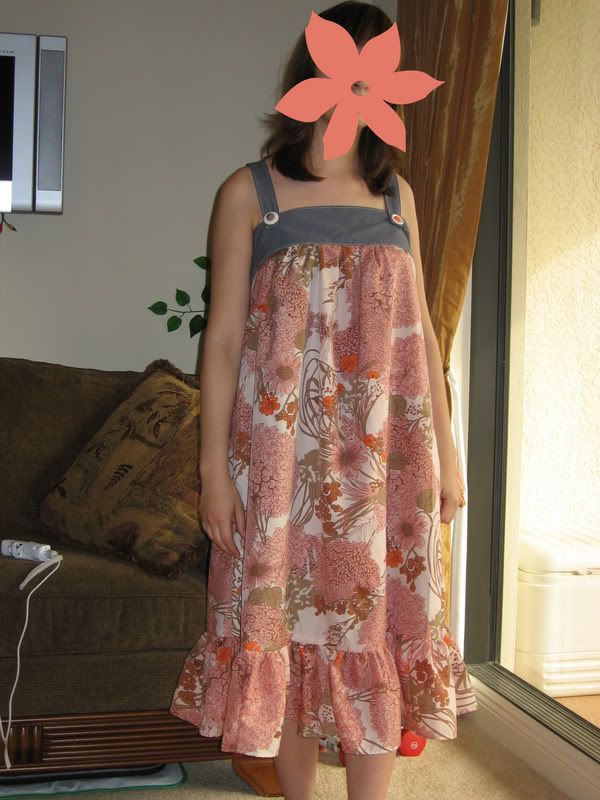
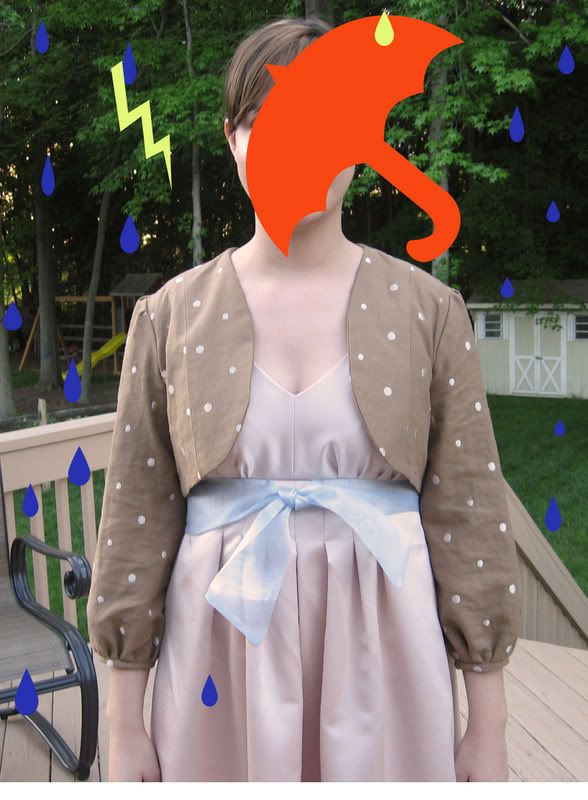
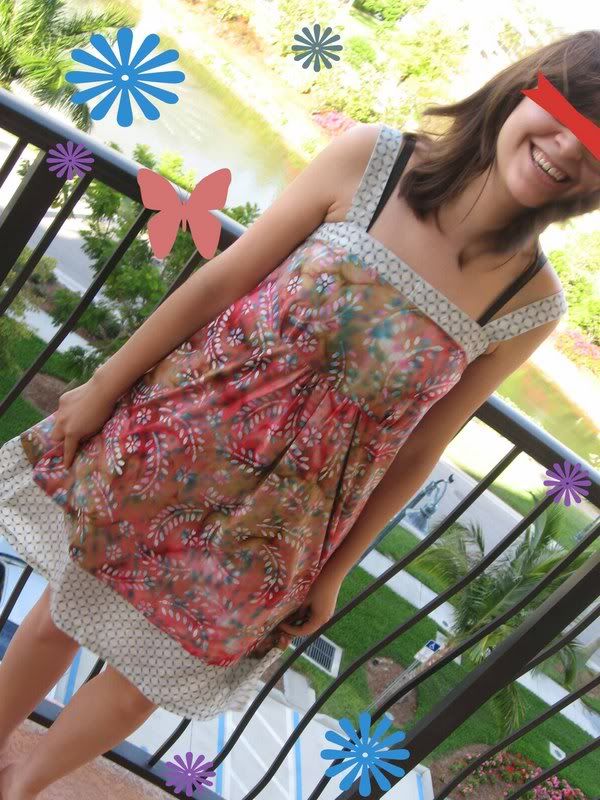
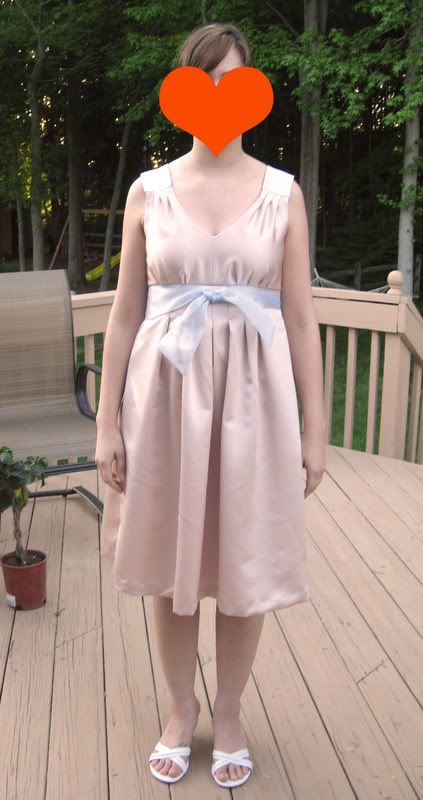 bottom left: dress I made in a yummy heavy satin for a wedding